
I was all excited that a lot of work was going to start on Monday (as promised) but I was disappointed. Roman came and picked up the last cabinet that hadn't fit and took it back to the warehouse... and Potts came and dropped off some 1/4 round trim for the edges of the stairs and front door but that is all the action we saw Monday.
Tuesday- Thursday NOTHING happened...
I guess that's not true, the counter tops were templated on Wednesday. (which only took 15 minutes) But that is it!
We are pretty upset and really feeling like we are last on the list and are starting to get a little pushy with Vince. This is not cool. He has been promising things and then just not showing up. I will leave it at that.
As of now, he says he will be here at noon today with the banister stuff (we found our own painter to paint the newel posts and bottom trim, his painters bid was really high).
The painter should be here today also.
Vince says our baseboards are being painted today and that they will install them tomorrow. No idea what they look like, which annoys me but at this point we just want baseboards so we can move furniture back in!
Counter tops are pushed back until Tuesday.
There is a lot of finishing work that needs to be done on everything- and the drywall needs to be fixed which will take a day. AHHH a little overwhelmed.... just a little!
We are hosting three "events", Sept 1, Sept 3 and Sept 7... I don't know if I will have time to get anything put back to normal by then, but I will do my best. Maybe I will have a sink and stove though?
Even though nothing big happened this week I was busy trying to help things move along and did a couple of small projects.
The first was to get the floor vent covers to look better. I didn't want to spend a lot of money on new ones, and I couldn't even find ones that I liked,
so out came the spray paint!
We needed to buy three new covers, and used 7 old ones. Three of them were just too bent up and wouldn't work right or sit flat on the floor at all. I bought the cheapest ones in the right size ($7 ea), one can of spray paint and got to work.
They were so gross. I guarantee they were the same ones put in the house 18 years ago and never cleaned. I will spare you any pictures before I washed them!


They look great! So happy with them.


The next project I took on was figuring out how to line the kitchen cabinets. I want to protect them and make them last for a really long time. I didn't want anything permanent but I wanted it to be more than just paper. I have also tried those "foamy" liners but they just don't stick and move around a lot.
So after reading a bunch online I came up with this:
Wrapping paper covered in contact paper.
I went to hobby lobby and bought two rolls of white wrapping paper (40% off!)
I would have gone for a fun patterned paper, but Dave wanted to stick with the white, which I am fine with. We bought two rolls of contact paper while we were at Home Depot during one of our weekly trips.
I then measured all of the shelves and drawers and got to work. Cut out the wrapping paper to size (which thankfully had one inch squares on the back of it) and then cut out the same size of contact paper. I put the contact paper on top of the white, pushed out as many bubbles as I could with my bone folder and then moved to the next one. This took a long time (over a few days) and the pieces will need to be trimmed when I install them (I purposely error-ed on the large size so I can trim them to fit exactly).

When I install them I am going to put small pieces of double sided tape on the corners and long edges so they stay put.
I am hoping this will work well. I can wipe them off, take them out to vacuum the drawers if needed and they won't leave a lot of sticky residue behind.
(Goo Gone will take care of the little parts from the tape)
It was also cheap to do ($20 for all the supplies).
On pinterest I saw this idea:

So smart! I don't have a damaged cabinet bottom but I do have new ones that I want to protect. We bought a box of peel and stick tiles (.99 cents a square foot) and will be doing this under the sink, the pots and pans cabinet bottom, and a few other "high traffic" areas in the kitchen to protect the cabinets. This is definetly more perminent but they will still be able to be taken off if we ever want to in the future and will most importantly protect the cabinets!


I will post pictures of the liner and tiles once we get them installed.
We are so excited about our big kitchen island. We decided to do a 16" overhang on the long side and a 14" on the shorter side. This will make it so we can sit comfortably at the island and not have our legs bang into the cabinets underneath. We have long legs and the boys are only going to get bigger, so this was really important to me.
The island is going to be 3' 6" x 9'4"!!!
With that large of an overhang you need corbels to support the weight of the stone.
We looked and looked, bought some at Home Depot that we didn't love but that were ok and then looked online some more. We finally found the perfect ones!
We four of these are on their way...


Hopefully I have more to post SOON!

I guess that's not true, the counter tops were templated on Wednesday. (which only took 15 minutes) But that is it!
We are pretty upset and really feeling like we are last on the list and are starting to get a little pushy with Vince. This is not cool. He has been promising things and then just not showing up. I will leave it at that.
As of now, he says he will be here at noon today with the banister stuff (we found our own painter to paint the newel posts and bottom trim, his painters bid was really high).
The painter should be here today also.
Vince says our baseboards are being painted today and that they will install them tomorrow. No idea what they look like, which annoys me but at this point we just want baseboards so we can move furniture back in!
Counter tops are pushed back until Tuesday.
There is a lot of finishing work that needs to be done on everything- and the drywall needs to be fixed which will take a day. AHHH a little overwhelmed.... just a little!
We are hosting three "events", Sept 1, Sept 3 and Sept 7... I don't know if I will have time to get anything put back to normal by then, but I will do my best. Maybe I will have a sink and stove though?
Even though nothing big happened this week I was busy trying to help things move along and did a couple of small projects.
The first was to get the floor vent covers to look better. I didn't want to spend a lot of money on new ones, and I couldn't even find ones that I liked,
so out came the spray paint!
We needed to buy three new covers, and used 7 old ones. Three of them were just too bent up and wouldn't work right or sit flat on the floor at all. I bought the cheapest ones in the right size ($7 ea), one can of spray paint and got to work.
They were so gross. I guarantee they were the same ones put in the house 18 years ago and never cleaned. I will spare you any pictures before I washed them!

This is the best looking one that we kept. The rest had a bunch of rust and scratches on them.
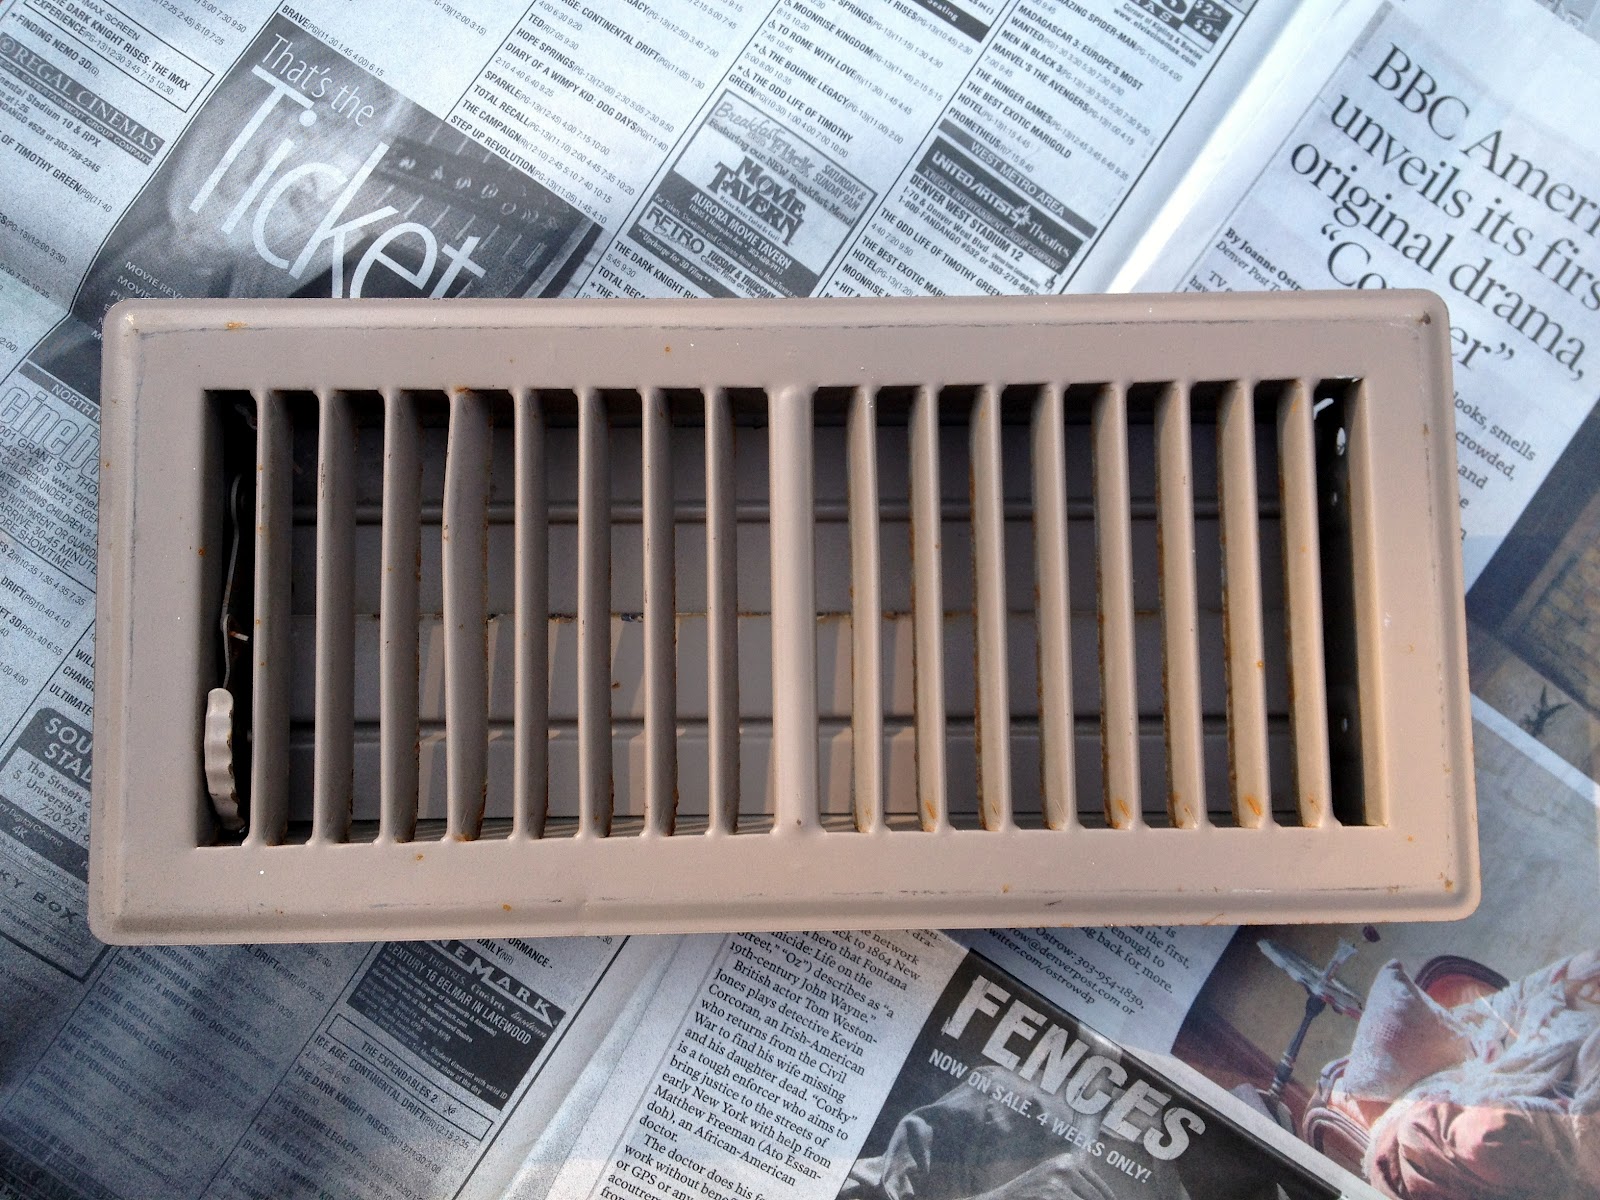

I had to do a few batches.

They look great! So happy with them.


The next project I took on was figuring out how to line the kitchen cabinets. I want to protect them and make them last for a really long time. I didn't want anything permanent but I wanted it to be more than just paper. I have also tried those "foamy" liners but they just don't stick and move around a lot.
So after reading a bunch online I came up with this:
Wrapping paper covered in contact paper.
I went to hobby lobby and bought two rolls of white wrapping paper (40% off!)
I would have gone for a fun patterned paper, but Dave wanted to stick with the white, which I am fine with. We bought two rolls of contact paper while we were at Home Depot during one of our weekly trips.
I then measured all of the shelves and drawers and got to work. Cut out the wrapping paper to size (which thankfully had one inch squares on the back of it) and then cut out the same size of contact paper. I put the contact paper on top of the white, pushed out as many bubbles as I could with my bone folder and then moved to the next one. This took a long time (over a few days) and the pieces will need to be trimmed when I install them (I purposely error-ed on the large size so I can trim them to fit exactly).

(Some are upside down- showing the squares... there will only be plain white showing once installed)
When I install them I am going to put small pieces of double sided tape on the corners and long edges so they stay put.
I am hoping this will work well. I can wipe them off, take them out to vacuum the drawers if needed and they won't leave a lot of sticky residue behind.
(Goo Gone will take care of the little parts from the tape)
It was also cheap to do ($20 for all the supplies).
On pinterest I saw this idea:
So smart! I don't have a damaged cabinet bottom but I do have new ones that I want to protect. We bought a box of peel and stick tiles (.99 cents a square foot) and will be doing this under the sink, the pots and pans cabinet bottom, and a few other "high traffic" areas in the kitchen to protect the cabinets. This is definetly more perminent but they will still be able to be taken off if we ever want to in the future and will most importantly protect the cabinets!

Again, very neutral. There are tans and grays in it and it is textured. Looks shockingly like really nice tile.

We are so excited about our big kitchen island. We decided to do a 16" overhang on the long side and a 14" on the shorter side. This will make it so we can sit comfortably at the island and not have our legs bang into the cabinets underneath. We have long legs and the boys are only going to get bigger, so this was really important to me.
The island is going to be 3' 6" x 9'4"!!!
With that large of an overhang you need corbels to support the weight of the stone.
We looked and looked, bought some at Home Depot that we didn't love but that were ok and then looked online some more. We finally found the perfect ones!
We four of these are on their way...

We will prime and paint them white :)
They are going to look amazing with trim.. Here is the trim idea picture again:
Hopefully I have more to post SOON!

Hang in there! I am sure that you are just so frustrated. If you need to vent or hang out, let me know:)
ReplyDelete